

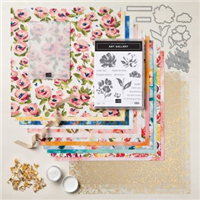
Today’s Bee Creative Tutorial offers another creation from My Most Beautiful Top Pick from the Stampin’ Up! 2021 January – June Mini Catalog! The Fine Art Floral Suite Collection!

Missed yesterday’s post? You can see it here.

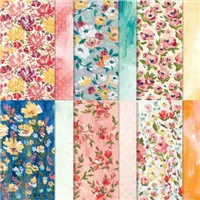
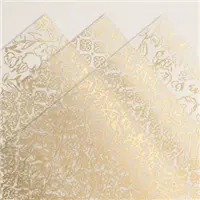
Today’s card showcases the beautiful Fine Art Floral Designer Series Paper with the Coordinating Acetate Specialty Paper. The Painted Texture 3-D Embossing Folder adds some nice texture. A word stamp from the Happiest of Birthdays stamp set completes the card. Like I said on my weekly Facebook Live, when the Designer Series Paper is so gorgeous it can really stand alone in creating a beautiful card!
Measurements:
- Thick Whisper White: 4 ¼” x 11”, Whisper White 4 ¼’ x 5 ½”, Scrap for Sentiment
- Poppy Parade Mat: 2 7/8” x 4 1/8”
- Designer Paper: 2 ¾” x 4”, Acetate 2 ¾” x 4”
Instructions:
- Run the 4 ¼” x 5 ½’ whisper White through the Stampin’ Cut & Emboss Machine using the Painted Texture 3D Embossing Folder
- Attach the embossed piece to the card base using adhesive.
- Attach the Acetate to the Designer Paper (making sure to line up the flowers) using just a tad of adhesive. I added a bit to a few flowers to adhere to. That way it wasn’t obvious and didn’t show.
- Attach the Acetate and Designer Paper to the Poppy Parade mat and attach to the front of the card using Dimensionals.
- Stamp the greeting on a piece of Whisper White and attach with adhesive on the right side (not on the overhang).
** When cutting the DSP and Acetate I first line up the images to match. Then I cut 4”x12” strips. Then cut matching pieces.

![]()


0 Comments