

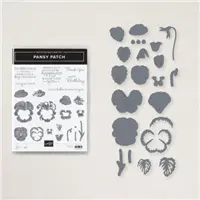
Today I am sharing a fun fold card featuring the NEW Stampin’ Up! Pansy Petals Suite Collection from pages 28-29 of the 2021-2022 Annual Catalog that’s now LIVE! This fold of this card was inspired by Susan Campfield. Thank you Susan for the inspiration!
You can watch me assemble this card on the recording from this week’s Facebook Live:


MEASUREMENTS:
- Basic White: 5 ½” x 8 ½” scored at 4 ¼”; 5 ¼” x 8” scored at 2”, 4”; 3” x 3”; 1 ¼” x 3 ¼”; scrap for flower
- Pale Papaya: 3 ½” x 3 ½”;
- Pansy Petals DSP: 4” x 5 ¼”
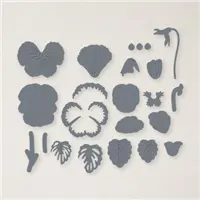
- Large and Small Pansy Flower and leaves cropped from the Pansy Petals DSP.

INSTRUCTIONS:
- Adhere the DSP to the front of the card base. Only put the adhesive in the four corners because you will be cutting out a circle in the front.
- Lay the card base in the die cutting machine and lay the second from largest, smooth sided circle die centered in the upper portion of the card front. Die cut a circle window in the card. Keep the circle for lthe inside of the card. Fold the card closed with the circle opening on the front.
- Crease and fold the accordion fold insert piece and adhere it inside the card so that the accordion side opens up to the right.
- Cut a scallop circle from the 3-1/2″ x 3-1/2″ Pale Papaya piece with the largest scallop circle die.
- Take the scallop circle and cut out the center with the second from largest, smooth sided circle die.
- This will give you a scallop “ring” to decorate the circle cut out in the card. Adhere with the Multipurpose Liquid Glue. (You can apply the glue on the narrow ring, let it dry, and it will be very tacky and will adhere without and excess “glue” squeezing out the sides.
- Close the card. The folded edge of the pullout panel will show in the window of the card on the right side of the circle opening. Add some adhesive to the portion of the pullout panel that shows in the circle opening. Adhere the white circle that was cut from the front of the card (save the Designer Series Paper Circle for another project).
- Adhere the leaves die cuts to circle and then add the flower die cut with dimensionals, making sure the large flower and leaves will fit in the circle.
- Adhere the smaller flower and adhere inside the card.
- Stamp the words onto a small strip of Basic White Cardstock – using Calypso Coral ink. Angle ends of strip with Paper Snips. Adhere a strip of Pale Papaya 3/8″ Open Weave Ribbon to the back side of the word panel. Attach to card front with dimensionals.
- Finish the card by attaching a Bumblebee Trinket to the card with a glue dot.


0 Comments