

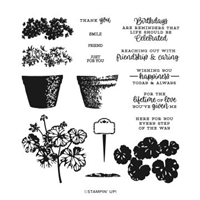
This card, like the one I shared on my Facebook Live this week, features the wonderful Potted Geranium Bundle. I created this card to show another color for the geraniums! Something about red geraniums brings back memories of my mom and dad – and so they are a favorite of mine!
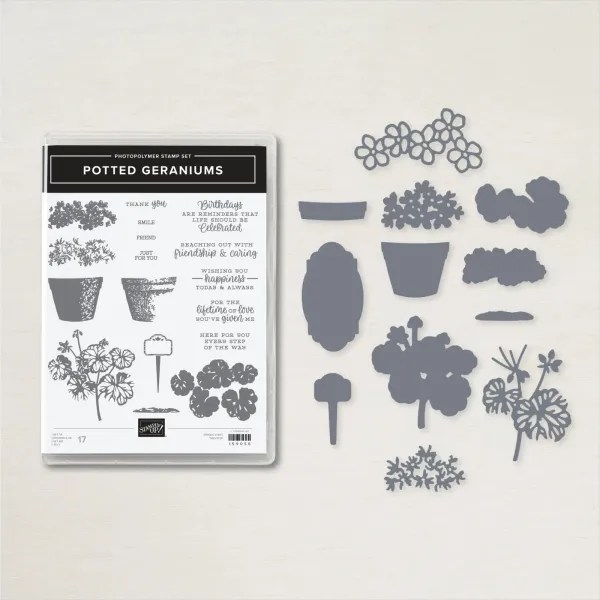
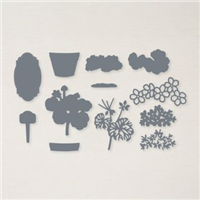
The card I shared on my facebook live featured the stamped images to create the geraniums – but for this card, I just used the dies with different colors of cardstock – to create both the flowers and the leaves/stems.
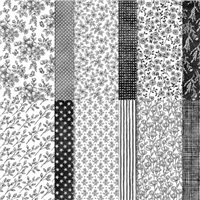
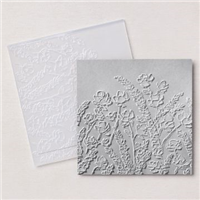
Check out the background panel – this is a brand new embossing folder called Painted Posies and I love it! I finished the card with a bit of black and white ribbon and Designer Series Paper. The black, white and red colors are always a favorite of mine.

Measurements:
- Thick Basic White: 5 ½” x 8 ½”- scored at 4 ¼”,
- Basic White: 4” square, 1 ¾” x 2 ½”
- Perfectly Penciled Designer Series Paper: 1” x 3” – cut 2
Instructions:
- Stamp the greeting in Tuxedo Black Memento Ink onto the 1 ¾” x 2 ½” Basic White.
- Die cut the greeting with the label from the Geraniums Dies.
- Emboss the 4” square panel of Basic White with the Painted Posies Embossing Folder.
- Adhere the two strips of Designer Series Paper behind the embossed Painted Posies Panel as shown in photo.
- Adhere to the folded card base with Multipurpose Glue.
- Use Die Cuts to crop the two colors of card stock for the geraniums (Real Red and Poppy Parade and the two colors of card stock for the leaves (Garden Green and Pear Pizzazz).
- Adhere cropped pieces together with glue.
- Position onto card front, over the embossed panel with glue.
- Attach a small piece of Black and White Gingham Ribbon behind word panel with a dimensional. Position word panel to card front with additional dimensionals.
- To finish, add three Brushed Brass Butterflies as an embellishment.

Want it all?? Have a big wish list? The BEST deal is always buying the Stampin' Up! Starter Kit! You get $125 in product of your choice for just $99 & Free Shipping! No obligation
I am blessed to lead an amazing team with members all across the United States. My team consists of both business builders and happy shoppers! The question I am most often asked about joining the SU family is – “do I have to sell?” The answer is NO! You are welcome to be a happy shopper – and a smart cookie, I might add, to get all the products you love at the demonstrator discount!
Please contact me with any questions! I’d love to have you join my “We’d Rather Bee Stampin'” team!
You will then enjoy 20% off all future purchases while you are active! What have you got to lose? The link to join is below! The best part – there is no obligation to sell, or hold parties ever!!! You can simply become a “happy shopper” and get discounts on all your Stampin’ Up! purchases! If you’d like to pursue this as a business and make a little extra money, I can help you with that as well! 
![]()


Price: $12.00


0 Comments