
Who can resist a little Christmas gnome? This fun holiday card features a cute gnome delivering a Christmas present, a whimsical mushroom house, and a sentiment that made me smile as soon as I saw it!
The Merry Mischief Bundle is perfect for creating playful Christmas cards with plenty of personality. I love how the gnome, oversized mushroom, and little details come together to create this festive scene. And that sentiment? It’s perfect for those days when you’re feeling festive, but you might need a little extra coffee to get there!

For the card base, I used the Scalloped Christmas Cheer Dies to create a decorative edge that adds a special touch. The stitched details frame the scene beautifully, while the layered pieces give the card plenty of dimension.
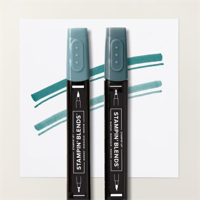
I colored the stamped images with Stampin’ Blends, adding shading and depth to the gnome, mushroom, and Christmas present. Stampin’ Blends make it easy to bring these charming images to life, and you can have fun experimenting with different color combinations to make each card your own.

The deep red mushroom cap, teal accents, and snowy white details give this card a classic Christmas feel with a whimsical twist. A few embellishments finish the design without taking away from the adorable little scene.
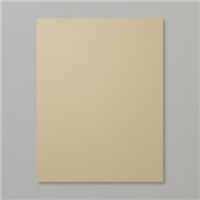
- Crumb Cake Cardstock: 8 1/2 x 5 1/2, scored at 4 1/4
- Basic White Cardstock: 5 3/4 x 4 1/2 (scalloped die-cut)
- Basic White Cardstock: 5 3/4 x 4 1/2 (stamped gnome & snow cap and mushroom dots)
- Basic White Cardstock: 2 x 1 (sentiment)
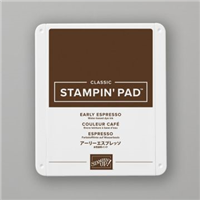
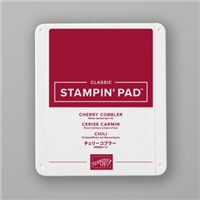
- Cherry Cobbler (cap), Crumb Cake (stem), Pecan Pie (door), Early Espresso (path rock) and Crushed Curry (window) Two-Tone Cardstock Scraps
- Burnish the fold of the card base with a Bone Folder.
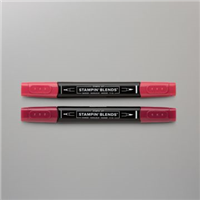
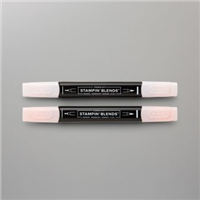
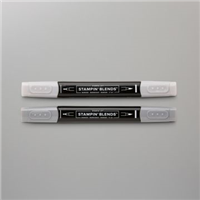
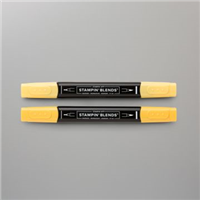
- Stamp the gnome in Early Espresso Ink. Color with the following Stampin’ Blends: Smoky Slate, Pretty Peacock, Petal Pink, Cherry Cobbler, Daffodil Delight
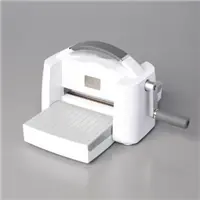
- Crop with the coordinating Merry Mischief die.
- Crop all pieces of Two-Tone Cardstock with the coordinating Merry Mischief toadstool dies.
- Adhere the pieces together and to the card with Multipurpose Liquid Glue & Stampin’ Dimensionals.
- Adhere the gnome with as shown with Stampin’ Dimensionals.
- Stamp the sentiment in Cherry Cobbler Ink, adhere with Stampin’ Dimensionals.
- Embellish with Pretty Peacock Array of Dots.


FREE TUTORIALS- I send out Weekend Inspiration every weekend that includes a handful of Card Projects with tutorials and supply lists – and yes they are free! The first card on today’s post is one of the project tutorials! I send these out to all who are on my email list. Interested in getting these project sheets? Simply subscribe to my email list click here:














0 Comments