


On Tuesday, I shared two cards I created during a Facebook Live using the Sand & Sea Suite Collection. You can see the details, as well as a link to the Facebook Live here.

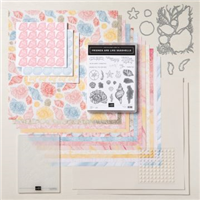
I thought it would be fun to create a slimline card with these products as well. I wanted to create the look of shells washing up on the beach from the ocean. Slimline cards are fun – and I always create a matching envelope with the coordinating Designer Series Paper. Check out my tutorial below to see how I created both the card and the envelope!
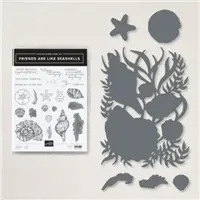
I love the detail that the stamp set provides for the shells!

I added some of the Opal Rounds for some added sparkle.


MEASUREMENTS:
- Basic White Thick: 8 1/2 x 7 – Scored at 3 1/2
- Blue DSP (Sand & Sea): 8 1/4 x 3 1/4
- Sand DSP (Sand & Sea): 8 1/4 x 2
- Sahara Sand: For Stamped Images
- Basic White: For Stamped & Embossed Images
CARD INSTRUCTIONS:
- Adhere the Blue DSP to the card base with Stampin’ Seal.
- Tear the top of the Sand DSP and adhere to the card base with Stampin’ Seal.
- Stamp a sand dollar onto Pearlescent Specialty Paper and crop with coordinating die.
- Stamp a sand dollar onto Sahara Sand cardstock with Sahara Sand ink and crop with coordinating die.
- Stamp two shells onto Basic White cardstock with Sahara Sand ink and cut out with Paper Snips.
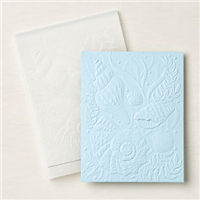
- Stamp large shell with Seaside Spray ink and then place in embossing folder, and run through the Stampin’ Cut and Emboss Machine. Trim around embossed shell with Paper Snips.
- Arrange shells onto card front as shown – using Stampin Dimensionals on all shells except the Sand Dollar.
- Stamp words onto a piece of Basic White cardstock and crop with a Stitched Rectangle die.
- Create a “loopy bow” with Linen Thread and secure to the back of the word panel with dimensionals, and then attach to the card front.
- To finish the card, add a few Opal Rounds.
ENVELOPE INSTRUCTIONS:
- Start with an 8 1/2 x 11 piece of DSP. Score the long side at 2 1/2 and 6 1/2. Score along the short side at 1 1/2 and 10 1/2.
- Fold on score lines and use Paper Snips to cut out the DSP on the four corners. Fold the side flaps in and secure. Fold the smaller bottom flap in and secure. Leave the top flap open until you insert your card and then seal! I like to use a white mailing label to add my address when I’m ready to mail my card.
Hope you enjoy today’s project! Thanks for stopping by!
![]()


0 Comments