

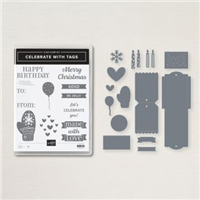
Create this Cheerful and Fun Holiday Card using the Celebrate with Tags Bundle by Stampin’ Up!

Measurements:
- Card Stock: Basic White 3 ½” x 11”
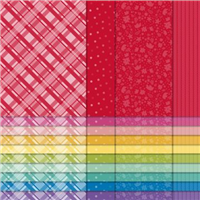
- DSP: Pacific Point Plaid 3” x 5”
- Card Stock: Basic White scraps
- Glimmer: Real Red 2 ½” x 2 ½”
- Ribbon: Real Red Ruffle 4”
- Baker’s Twine: White (2) 5”
Instructions:
- Cut a 3 ½” x 11” Basic White card base. Fold in half.
- Stamp the hearts onto the card front using Real Red ink (3x).
- Emboss the card front using the Wintry snowflake embossing folder.
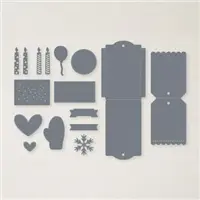
- Cut a tag from the Pacific Pointe plaid DSP.
- Cut a 4” piece of Real Red Ruffle ribbon and thread it thru the hole in the top of the tag.
- Cut (2) 5” pieces of White Baker’s Twine.
- Wrap them around the ruffle ribbon and tie them together in a bow to secure at the top.
- Adhere the tag to the card front using Stampin’ Dimensionals. (Note: it can hang off the right side just a bit)
- Cut (3) snowflakes from Basic White cardstock and adhere to the tag.
- Cut a large heart from Real Red Glimmer paper and adhere to the tag using Stampin’ Dimensionals.
- Stamp the mitten onto Basic White cardstock using Pacific Point ink. Cut.
- Adhere the mitten to the tag using Stampin’ Dimenisonals.
- Cut a Basic White circle. Cut in half.
- Stamp “WITH” onto the half circle using Pacific Point ink.
- On a piece of Basic White cardstock, Stamp the LOVE banner using Real Red ink. Cut.
- Adhere the banner to the bottom of the half circle using Stampin’ Dimensionals.
- Adhere the piece to the card front using Stampin’ Dimensionals.
- Adhere a rhinestone to each snowflake.
- Adhere a rhinestone to the center of the mitten.

![]()


0 Comments