Feb 11, 2025 | Gallery, More Friend Cards, More Get Well Cards, More Love Cards, More Sympathy Cards, More Thank You Cards |

Yesterday, on my Facebook Live, I assembled eight cards featuring the NEW Heirloom Arrangements Kit!


Ordering Special! NOW – Sunday, February 16!
Orders of $50 or more will receive a pack of the In Color Shimmer Gems (2024-2026)
FREE TUTORIALS- I send out Weekend Inspiration every weekend that includes a handful of Card Projects with tutorials and supply lists – and yes they are free! The first card on today’s post is one of the project tutorials! I send these out to all who are on my email list. Interested in getting these project sheets? Simply subscribe to my email list click here:


Jan 14, 2025 | Gallery, More Congrats Cards, More Love Cards, More Thank You Cards |
It was so great to do a Facebook Live again, after recent surgery and time to heal! I featured two different stamp sets that both coordinate with a new punch – On Point. I love punch bundles and love that for this punch, we have not one but two stamp sets that coordinate! I paired the stamped, punched images with some gorgeous Designer Series Papers for some simple, quick but lovely cards!
If you’d like the measurements for these cards, they can be found on the FB Live recording!
Hugs for Love Bundle & Coordinating Bright Border Stamp Set


.
FREE TUTORIALS- I send out Weekend Inspiration every weekend that includes a handful of Card Projects with tutorials and supply lists – and yes they are free! The first card on today’s post is one of the project tutorials! I send these out to all who are on my email list. Interested in getting these project sheets? Simply subscribe to my email list click here:

Jul 31, 2024 | Gallery, More Friend Cards, More Thank You Cards |
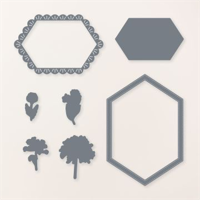
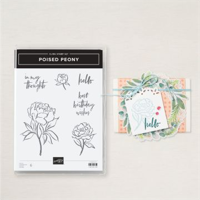
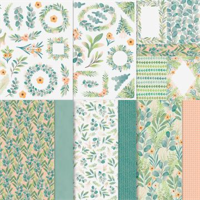
I created these during my most recent Facebook Live. I love the Frames and Flowers DSP package – and I used it on two of these cards. Combine it with the Poised Peony set and you have a perfect combo! Gorgeous colors and images! The words in the Poised Peony set are great as well!!
You can watch the replay here:

Here is the first card I created! It is super simple – I die cut a large circle from the Deckled Circle dies and placed it over a panel of Basic Beige cardstock. I used a Blending Brush with Lost Lagoon Ink to create the circle shape. Then all I had to do was stamp the large peony with Pretty Peacock ink, add my greeting and embellishments and I was done!

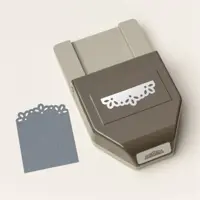
Next – this card features one of the MANY die cuts that are included in the DSP package. The tag is created with the Elegant Edge tag punch.

The third card also featured some of the die cuts from the dsp package. I added an embossed panel using the Distressed Tile embossing folder and a panel cut from the Perennial Postage dies.

If you love these projects, then I hope you will join us in August for my monthly Bingo/Crafting event! We have so much fun!!!

REQUEST TO REGISTER BELOW!
Please email me with any questions!

Jul 26, 2024 | Gallery, More Friend Cards, More Thank You Cards |
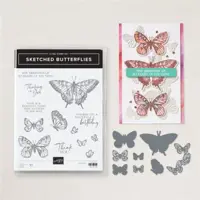
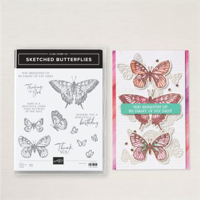
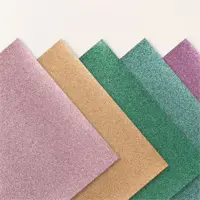
Today I am sharing a beautiful trio of cards featuring products from the new – Sketched Butterflies Bundle! The stamped and die-cut butterflies are all easy to work with and gorgeous. I create these during my most recent Facebook Live. You can watch the replay here:

Here is the first card I created! I love how the die-cuts set at a slight angle really show off the beautiful butterfly.

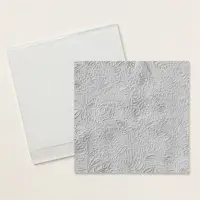
The second uses lots of white with texture and a nice pop of color with the butterfly and sentiment.

The little butterflies die-cut from the glimmer paper are perfect!


Jul 11, 2024 | More Thank You Cards |
Today I am sharing a beautiful card featuring products from the new Online Exclusive – Golden Greenery Suite. The products are gorgeous – and my card today is to show that these are for more than Christmas! This Hello Friend card could be for anyone – at any time of the year! I love the combination of the Pretty Peacock with Very Vanilla and the Gold in the DSP. Swoonworthy!!!
I’ll be releasing a Christmas In July Class to go later today featuring these products! Watch for details!
DIMENSIONS:
- Pretty Peacock Cardstock: 5 1/2 x 8 1/2, scored at 4 1/4 (card base), 4 1/2 x 1/2 (strip)
- Very Vanilla Cardstock: 4 x 5 1/4 (layer), 2 x 3/8 “friend” sentiment, 2 1/2 circle die-cut
- Season of Green and Gold Designer Series Paper – 4 x 3 (layer), approx. 3 1/2 x 2 1/2 die-cut

FREE TUTORIALS- I send out Weekend Inspiration every weekend that includes a handful of Card Projects with tutorials and supply lists – and yes they are free! The first card on today’s post is one of the project tutorials! I send these out to all who are on my email list. Interested in getting these project sheets? Simply subscribe to my email list click here:

Jun 14, 2024 | More Thank You Cards |
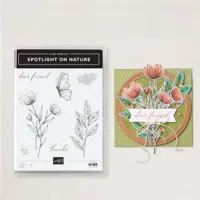
A beautiful card made with a very popular bundle! This is an easy one, too! I only used a Mossy Meadow ink pad and then colored the leaves with a Light Mossy Meadow blend – easy peasy! The color was added to the flowers with Berry Burst blends! Follow along on the tutorial below to make this beautiful card!
DIMENSIONS:
- Mossy Meadow Cardstock: 4 1/4 x 11, scored at 5 1/2 (card base), 4 x 5 1/4 (layer)
- Basic White: 3 3/4 x 5 (layer), 3 1/4 circle (flower), 1 5/8 circle (sentiment)

- Burnish Mossy Meadow card base on fold.
- Adhere the Mossy Meadow layer to the base with Stampin’ Dimensionals.
- Stamp the leaf and splatter images onto the Basic White layer in Mossy Meadow Ink.
- Color the leaves with a Mossy Meadow Light Stampin’ Blend. Adhere with Multipurpose Liquid Glue.
- Stamp the sentiment and the flower image in Mossy Meadow Ink onto a piece of Basic White Cardstock.
- Crop with the 3 1/4 (flower) and 1 5/8 (sentiment) Spotlight on Nature circle dies.
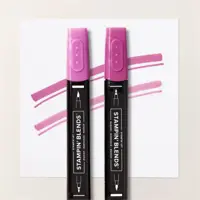
- Color the flower leaves with a Mossy Meadow Light Stampin’ Blend. Color the flower petals with Berry Burst Light and Dark Stampin Blends.
- Adhere as shown with Stampin’ Dimensionals.
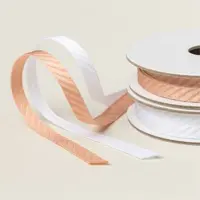
- Color a 3″ piece of white Diagonal Ribbon Trim with a Berry Burst Dark Stampin’ Blend. Fold and adhere with Mini Glue Dots tucked under the sentiment.
- Embellish with three Petunia Pop Adhesive-Backed Pearls.

FREE TUTORIALS- I send out Weekend Inspiration every weekend that includes a handful of Card Projects with tutorials and supply lists – and yes they are free! The first card on today’s post is one of the project tutorials! I send these out to all who are on my email list. Interested in getting these project sheets? Simply subscribe to my email list click here:
Sale: $46.25
Price: $52.00
Sale: $117.00
Price: $130.00