

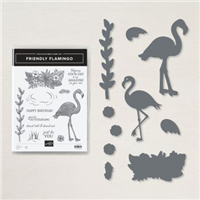
Sharing one more card today with the Friendly Flamingo Bundle! This one also uses the retiring Forever Greenery Designer Series Paper.
 I created a white frame with the Stitched Rectangle dies and placed the DSP below. This was all attached to a Flirty Flamingo card base.
My flamingo was cropped from Flirty Flamingo cardstock with the flamingo die. I cut two wings – one in flirty flamingo and one in basic black.
MEASUREMENTS:
- Flirty Flamingo – 5 1/2 x 8 1/2 – scored at 4 1/4- card base; 2 1/2 x 4 for die cuts
- Basic White: 4 x 5 1/4 – cut 2; 3 x 3 for die cuts
- Basic Black – small piece for die cut and eye
- Forever Greenery DSP: 4 x 5 1/4

INSTRUCTIONS:
- Fold Flirty Flamingo panel in half to create card base.
- Use the Stitched Rectangle die to create a frame on one of the 4 x 5 1/4 Basic White panels. Adhere the other panel to the inside of the card.
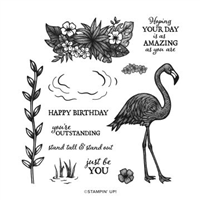
- Stamp two small flowers with Flirty Flamingo Ink, and the green leafy image with Garden Green Ink onto Basic White cardstock and crop with the Stampin’ Cut and Emboss Machine and the coordinating dies.
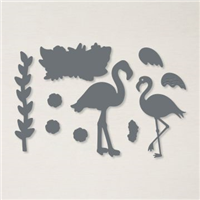
- Crop the Flamingo and the detailed wing with Flirty Flamingo cardstock. Crop the larger wing with Basic Black cardstock.
- Assemble the card by adhering the Forever Greenery DSP to the card front. Attach frame next with dimensionals.
- Attach the Greenery die cut on the bottom of the card, and use dimensionals to attach the two flowers, tucking a black/white Baker’s Twine bow below one of the flowers.
- Use Tombo Liquid Glue to position a small scrap of Basic Black cardstock behind the flamingo for the eye. Use a Basic Black Blend to color the beak black.
- Attach wings to each other with Tombo Liquid Glue and position onto flamingo with a dimensional.

![]()


0 Comments