

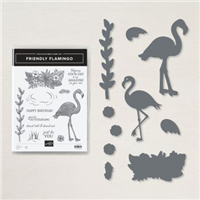
I created two more cards with the Friendly Flamingo Bundle for my Facebook Live Take 2 yesterday. The first is a slim line car and the second is an easel card. You can watch the replay by clicking below!


MEASUREMENTS: Card One:
- Thick Basic White Base – 7 x 8 1/2, scored at 3 1/2
- DSP – blue : 3 1/4 x 8 1/4; sand: 1 1/2 x 8 1/4 – tear along long side; use a small piece to create a sandy look on the inside of the card as well
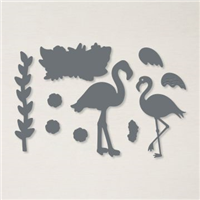
- Flirty Flamingo – use pieces of cardstock to cut out six flamingos and wings
- Basic Black – small pieces to attach behind the flamingos for the eyes

INSTRUCTIONS:
- Adhere Basic Black cardstock behind the flamingos for the eyes. Some will be facing left, some right – so glue the black cardstock on the appropriate side for the eyes. I did this with Tombo Liquid glue – you really just need a small drop or two.
- Tear the strip of “sand” DSP and attach to the blue DSP.
- Adhere the Flamingos to the DSP – facing different directions as shown in the photo.
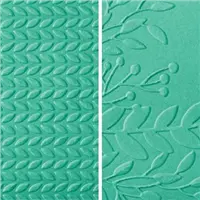
- Emboss the wings with the Forever Greenery Embossing folder and your Stampin’ Cut and Emboss Machine, and adhere the wings with Tombo Liquid Glue.
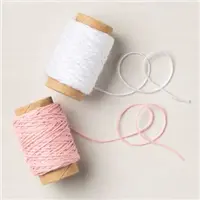
- Attach a Black/White Baker’s Twine bow to one of the flamingos with a glue dot.
- Stamp You’re Outstanding onto a piece of Basic White cardstock and crop with the Ornate Frame die. Attach to card front with dimensionals.
- For the inside of the card, tear a small strip of the “sand” DSP and attach to inside panel of card. Add a flamingo with Tombo Liquid glue.

The second card is an Easel card – it’s fun to make and quite easy!
MEASUREMENTS: Card Two:
- Melon Mambo – 4 1/4 x 5 1/2 (card base), 3 x 8 1/2, scored at 2 1/8 and 4 1/4
- DSP: cut two strips 1 1/4 x 4
- Blushing Bride: 2 3/4 x 4 1/8; 1 3/4 x 2 3/4
- Basic White: 2 5/8 x 4; 1 1/2 x 2 1/2, small piece for flower headpiece

INSTRUCTIONS:
- Attach the two strips of DSP to each side of the Melon Mambo card base.
- Attach the large strip of Melon Mambo cardstock to card base – centering over the two DSP strips. Place the scored part of this strip on top.
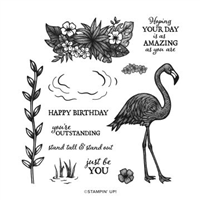
- Stamp the flamingo with Melon Mambo ink onto Basic White panel. Stamp the words and flowers onto the small piece of Whisper White panel, and use Daffodil Delight ink to stamp the small flowers and crop them with the coordinating die.
- Layer the flamingo panel onto the Blushing Bride panel and attach to the lower half of the scored Melon Mambo piece. Avoid putting adhesive on the top half of the flamingo as it will prevent the top section from folding back to form the easel.
- Adhere the Daffodil Delight Flowers to the Flamingo’s head with a dimensional.
- Layer the word panel onto the Blushing Bride panel and attach to card front with dimensionals.
- To finish the card, add the dot and the Whisper White Baker’s Twine bow. If you have any questions, please watch the video for clarification!


Hot Diggity Dog! I can’t wait to share my Bee Box for April featuring the Hot Dog stamp set! It is one of the cutest classes I think I have ever offered! The class to go includes a set of 6 cards sure to bring a smile to your face! That means you will have 6 different ideas for this set!
Are you a dog lover? You NEED this class!
SEE THE DETAILS AND SIGN UP HERE: https://lauramilligan.com/2021/04/my-april-2021-bee-box-hot-dog-adorable-cards.html
![]()


0 Comments