Aug 29, 2024 | Gallery, More Holiday Cards, More Video Tutorials |

ORDER THE GLASS MAT STUDIO – ITEM 163987! Place an order for the Glass Mat Studio (or a minimum $60 order if you already have it) with host code XY4P9PHM by this Sunday, September 1 and I will send you the following for FREE:
- Blending Brushes (3 Pack)
- Stampin’ Dimensionals (1 Pack)
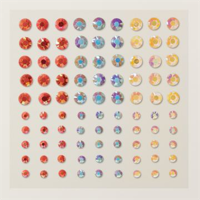
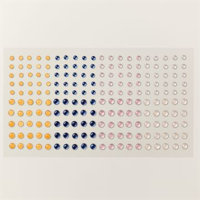
- Sparkle Gems (1 Pack)
- Your order also qualifies for TWO FREEBEES! (That’s double the normal amount!)

Wednesday on my FB Live, I shared these four cards which all showed different ways to take advantage of the Glass Mat Studio while you are creating!

Please watch my FB Live recording below to see lots of different tips and ways to use the Glass Mat Studio!

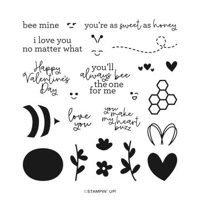
This simple card showed the completely solid image I got when stamping the BEE and her wings on the Glass Mat Studio! Sometimes with solid stamps like this, it is hard to get a good solid image – well, the Glass Mat Studio to the rescue!!!! Look forward to some beautiful stamped images when you put the Glass Mat studio to use!

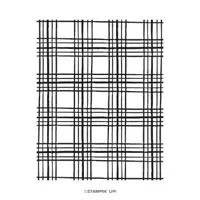
My next tip was using a large background stamp – for this card, I used the Sketched Plaid background stamp. No more struggling to hold the large block needed for these large stamps! It’s easy, peasy with the Glass Mat Studio!

Next tip – using the Silicone Mat that comes with the Glass Mat Studio to watercolor! I love to watercolor – I find it quite relaxing! Again- the Glass Mat Studio to the rescue – no mess – the reinker droplets and water are contained in the Silicone Mat – and then a simple wash in the sink cleans it out!

My final tip was how to use masks on the Glass Mat Studio. I used both ink and Shimmer Embossing Paste. So much fun with extremely easy clean up!

I hope you have learned some new things about how to use the Glass Mat Studio and will want to order it this weekend and take advantage of my great ordering special!

Jan 11, 2023 | Gallery, More Birthday Cards, More Video Tutorials |

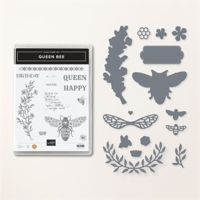
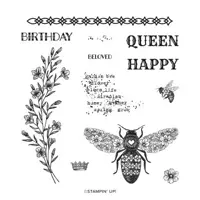
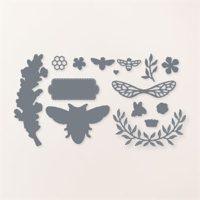
My Facebook Live this week featured two more cards with my Queen Bee Bundle! I just can’t stop creating with it! Here’s a look at the bundle:

You can watch the replay of the Live here:

I love the colors in the first card – crumb cake, black and a touch of petal pink – so pretty!

My second card featured the Queen Bee and the Dainy Flowers 12 x 12 Designer Series Paper. This paper is free with a qualifying product order ($50) during Saleabration! This paper has been super popular with my customers so far this month! It’s so pretty!
I embossed the words from Queen Bee with White Embossing Powder. I don’t do a lot of heat embossing – but after doing this and some other embossing on a couple of my cards from my presentation in Vienna, I have decided to do it more often! Love the look!

Here’s a look at the Designer Series Paper – 
and a close up of the card –

FREE TUTORIALS- I send out Weekend Inspiration every weekend that includes a handful of Card Projects with tutorials and supply lists – and yes they are free! The first card on today’s post is one of the project tutorials! I send these out to all who are on my email list. Interested in getting these project sheets?
Simply subscribe to my email list click here:


Dec 21, 2022 | Gallery, More Christmas Cards, More Video Tutorials |

I had the pleasure of spending Monday with my dear friend Lucy. We had planned a special day of FUN – and when I suggested a Facebook Live, she thought that was a great idea! I assured her that “all of her Facebook fans” were missing her!!!
We made a super quick gift card holder – really quick, but super cute! You can use the measurements below – and really any cardstock, designer paper and stamp sets to make them – and they sure are a much cuter way to “give” a gift card, don’t you think?
Here is the replay of our Facebook Live – I hope you will watch and leave a comment – Lucy will surely be the bright spot in your day! She always is a bright spot for me any time I have the pleasure of her company! She is Joy personified! Enjoy!

Here is my version of the gift card:

And you can probably guess that this is Lucy’s version- she loves bling and wanted to “bling it up!” Never too much bling, right? So adorable!

BASE MEASUREMENTS:
- 2 3/4 x 8 1/2; score at 1 1/4 and 5
Perfect size to slip a gift card in the pocket inside!

FREE TUTORIALS- I send out Weekend Inspiration every weekend that includes a handful of Card Projects with tutorials and supply lists – and yes they are free! The first card on today’s post is one of the project tutorials! I send these out to all who are on my email list. Interested in getting these project sheets?
Simply subscribe to my email list click here:

Dec 14, 2022 | Gallery, More Christmas Cards, More Video Tutorials |

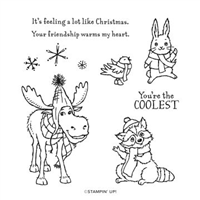
Today in my Facebook Live, I shared the 3 cards from the special kit I am offering tomorrow with our Free Shipping special! I made one of the cards – the one you see above, with the adorable moose! Isn’t she the cutest? She sure brings a smile to my face! Take advantage of our Free Shipping – one day only – Dec. 15th, and I will send you this kit as an added thanks from me when your order is $75 or more in product – before shipping and tax! (Free Shipping is for orders of $75 or more)


FREE CARD KIT ON $75+ – An added bonus for shopping with me! Get a 3 Card Kit that uses the All Bundled Up Stamp Set! (stamp set not included) NOTE: You can substitute the stamp set with one you have, the supplies and cutting will all be done for you!

THURSDAY, DECEMBER 15, place your order in my online store by clicking here:


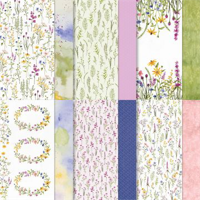
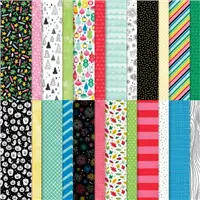
I am excited to offer a Paper Share for the papers in the upcoming MINI catalog! A paper share is a great way to get a sampling of what the papers are like – we know they are always better in person, right? My Paper Share comes at a huge savings to you when compared to purchasing the entire packs of DSP from the catalog. This way you can see it, touch it and pick out your favorites!
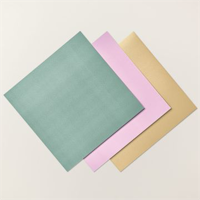
OPTION 1– 89 – 6” x 6” sheets of DSP! Includes ALL DSP plus the Specialty Papers. PRICE: $33
OPTION 2 – ALL of the above PLUS two card bases in EVERY STAMPIN’ UP COLOR! (this is 100 card bases – 2 of each color ) – PRICE: $55
BOTH OPTIONS INCLUDE A GIFT FROM ME!- A sampling of the new Host-Only Designer Series Paper from the Mini and Sale-a-bration Designer Series Paper.
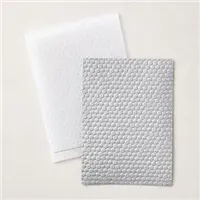
BONUS WITH OPTION 2! Those who choose option 2 will receive a FREE package of Basic White Medium Envelopes as an extra thanks!
Each package is labeled with the Designer Series Paper Name, Item Number, and Coordinating Stampin’ Up! Colors! I cut the paper to 6″ x 6″ size, label it, and package it and then ship it out to you! (or do a back porch pick up if you are local to me)
NEED SHIPPING? I’ll ship priority! PRICE: $8.50
RESERVATIONS CLOSE AND INVOICES WILL BE EMAILED ON JANUARY 3!
I will place the paper share order on Jan. 5! I will get your order to you as soon as possible – hopefully towards the end of the following week.
Please fill out this form! I will send you a request for payment via email.
FREE TUTORIALS- I send out Weekend Inspiration every weekend that includes a handful of Card Projects with tutorials and supply lists – and yes they are free! The first card on today’s post is one of the project tutorials! I send these out to all who are on my email list. Interested in getting these project sheets?
Simply subscribe to my email list click here:
Sale: $18.00
Price: $30.00

Dec 6, 2022 | Gallery, More Christmas Cards, More Video Tutorials |

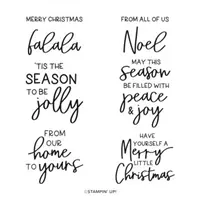
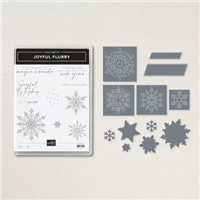
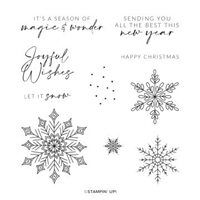
I love the Snow Crystal Stamp set – shown above – I feel like it is easy to be missed in the July-December Mini Catalog – but it is there and it is so beautiful! For my Facebook Live, I used the stamp and Starry Sky ink and cardstock to create this beautiful card.
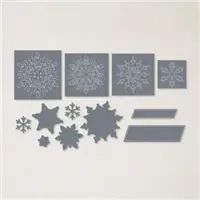
The word panel is from the Frosted Flurry Dies – they are on sale for just $13.60 as a part of our Last Chance List! WOW! The words I used are from the Frosted Flurry Stamp set.

FREE KIT WITH $35+ ORDER! I am offering a special now through Friday, Dec. 9 – place an order of $35 or MORE through my Online Store, and use host code KQNXHFXD and I will send you the kit to make this card and also the box and notecards shown below! You can watch how both go together in the FB LIve replay!


This box is really easy to make – as you can see in the replay of the FB LIve. Add some simple yet beautifully elegant notecards and you have a wonderful gift to give over the holidays!

BOX MEASUREMENTS:
- Top: 5 1/4 x 6 3/4- scored on all sides at 3/4”
- Base: 5 3/4” x 7 1/4” scored on all sides at 1”
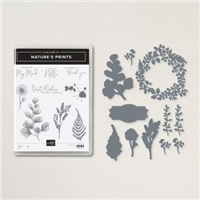
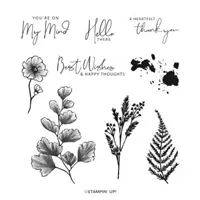
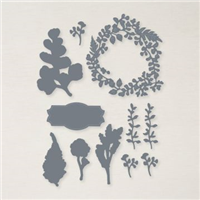
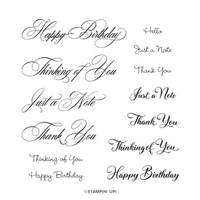
Here are photos of the notecards – I used one of each of the images from the Nature’s Prints bundle and stamped with Starry Sky ink and then die cut them with coordinating dies. The notecards and envelopes come 20 in a pack and make creating these cards very easy and quick! The words are from the wonderful Go To Greetings stamp set – don’t miss this one! It has great all occasion words in several different sizes and fonts! Love it! The cards were embellished with Iridescent Pearls.


Place your order in my online store between now and Friday and I’ll send you the kits to make both the Snow Crystal card and the box with notecards! (Per Stampin’ Up! rules, I can’t include any stamped images, but will supply card stock etc for you to create these cards)
FREE TUTORIALS- I send out Weekend Inspiration every weekend that includes a handful of Card Projects with tutorials and supply lists – and yes they are free! The first card on today’s post is one of the project tutorials! I send these out to all who are on my email list. Interested in getting these project sheets?
Simply subscribe to my email list click here:
Sale: $13.60
Price: $34.00

Dec 2, 2022 | Gallery, More Christmas Cards, More Video Tutorials |
If you are looking for some quick and cute little gift ideas my FB Live this week will give you just that!

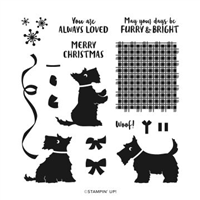
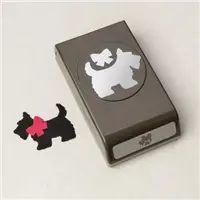
QUICK CHRISTMAS IDEAS! For my Facebook Live yesterday, I created two projects – the first uses the darling Scottie Dog bundle (stamp set and punch) and “dresses up” some yummy Scottie Dog cookies – a perfect little gift for anyone on your list! And because the bundle includes a punch for the dog, it is super quick! These are great to have on hand when you need a little something to give!

So cute!
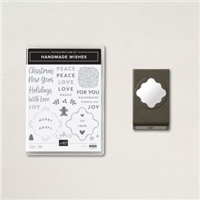
The second project I demonstrated uses the Envelope Treat Boxes from the July-December Mini Catalog and the Handmade Wishes Bundle. These products are great for year round gift giving! The Handmade Wishes Bundle also includes a punch. Since it’s December and Christmas is coming, I made a Christmas themed box – these boxes are perfectly sized to hold a gift card, candy, jewelry etc. Super cute and quick!
Hope you will give these projects a try – they will make your gift giving super easy!
FREE TUTORIALS- I send out Weekend Inspiration every weekend that includes a handful of Card Projects with tutorials and supply lists – and yes they are free! The first card on today’s post is one of the project tutorials! I send these out to all who are on my email list. Interested in getting these project sheets? Simply subscribe to my email list click here:
Sale: $13.30
Price: $19.00