Jun 22, 2023 | Gallery, More Friend Cards, More Thank You Cards |
For my weekly Facebook Live, I created the three cards above with the Masterfully Made Suite. It’s a great suite of products and I made three quite different looking cards! Would you like to get the kits in the mail to make these three cards? I’m offering a special so you can do just that!
ORDERING SPECIAL! ENDS FRIDAY, JUNE 23, 2023!
- Place an order of $35 with Host Code H99Z3MXU and I’ll send you the three card kits (show above) for FREE!
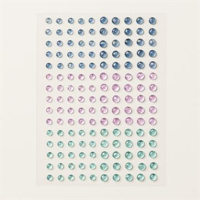
- Place an order of $50 with Host Code H99Z3MXU and I’ll send you the card kits and 2022-2024 In Color Pearls for FREE!.
Here’s the recording-

Here is a close up of the three cards:

MEASUREMENTS:
- Pretty Peacock – 6 x 4 1/4, scored at 1/2
- Berry Burst – 4 1/8 x 5 3/8
- Basic White – 3 3/4 x 5
- Designer Series Paper – 4 x 5 1/2, 5/8 x 2 1/2

MEASUREMENTS:
- Basic White Thick – 5 1/2 x 8 1/2, scored at 4 1/4
- Basic White – 3 1/2 x 4 3/4, 1 x 1 1/2 (sentiment)
- Pretty Peacock – 3 3/4 x 5
- Designer Series Paper – 1/2 x 3 1/2, 1/2 x 4 1/4 (inside)

MEASUREMENTS:
- Basic White Thick – 5 1/2 x 8 1/2, scored at 4 1/4 (card base)
- Basic White – 2 3/4 x 3 3/8, 1 x 2 (sentiment)
- Bubble Bath – 2 1/2 x 4 1/4
- Designer Series Paper – 4 x 5 1/4, 3/4 x 5 1/2 (inside)
FREE TUTORIALS- I send out Weekend Inspiration every weekend that includes a handful of Card Projects with tutorials and supply lists – and yes they are free! The first card on today’s post is one of the project tutorials! I send these out to all who are on my email list. Interested in getting these project sheets? Simply subscribe to my email list click here:


Jun 5, 2023 | Gallery, More Friend Cards, More Thank You Cards |

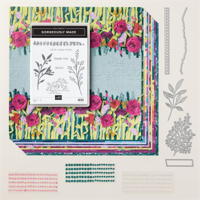
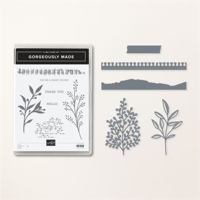
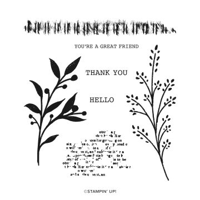
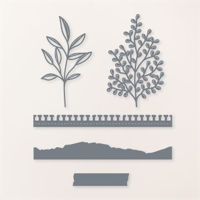
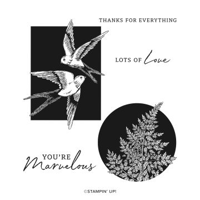
I love the beautiful scenes you can quickly construct with the Grassy Grove Dies. Pair it with a sentiment from the NEW Timeless Arrangements Stamp Set. The gorgeous background is a piece of Hello, Irresistible Designer Series Paper, which is on sale through June 30!


Measurements:
- Basic Black Cardstock: 5 1/2″ x 8 1/2″ scored at 4 1/4″
- Flirty Flamingo Cardstock: 4 1/8” x 5 3/8″
- Basic Black Cardstock 3 7/8” x 5 1/8”
- Designer Series Paper layer: 3 3/4″ x 5”
Instructions:
-
- Take the Flirty Flamingo layer and adhere to the Basic Black card base
- Take the Basic Black layer and use the large trees die from Grove Dies to cut the silhouette scene out – adhere to the Designer Series Paper layer using Mini Glue Dots – then adhere to the card base
- Use deer dies to cut out the deer – adhere in place using glue
- Use the sprig dies to cut out two Basic Black sprigs and one Flirty Flamingo sprig – adhere to the card in the lower right corner using Fine Tip Glue
- Stamp the sentiment in Versamark Ink onto a scrap of Basic Black cardstock and sprinkle on White Embossing Powder – shake off the excess and use the Heat Tool to set it – use your Paper Trimmer to shape it into a rectangle and adhere in place on top of the sprigs using Stampin’ Dimensionals
- Add two Black Classic Matte Dots where desired

Sale: $10.62
Price: $12.50

May 22, 2023 | Gallery, More Friend Cards, More Thank You Cards |
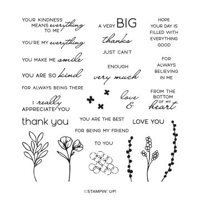
Lost Lagoon, one of my favorite returning colors, works wonderfully with the Marvelous Nature Stamp Set.
I created an ombre effect by adding classic ink directly to the stamp with Blending Brushes. I started with Petal Pink, added Calypso Coral to the center and ended with Lost Lagoon.
 MEASUREMENTS:
- Basic White Thick Card Base – 4 1/4 x 11 , Scored at 5 1/2
- Lost Lagoon Card Stock – 4 x 5 1/4
- Basic White – 3 3/4 x 5 (layer), 4 x 4 (all stamping and die-cutting)

INSTRUCTIONS:
- Burnish the fold of the card base with a Bone Folder.
- Adhere the Lost Lagoon layering with Dimensionals.
- Emboss the Basic White layer with the Fern 3D Embossing Folder. Adhere with Liquid Glue.
- Use Blending Brushes to add Petal Pink, Calypso Coral, and Lost Lagoon ink directly to the stamp. Stamp onto the Basic White layer. Crop with the largest Stylish Shapes circle die. Adhere with Dimensionals.
- Stamp the sentiment onto the Basic White layer. Cut to size as shown (3 1/2 x 3/4). Add white Baker’s Twine. Adhere with Dimensionals.
- Embellish with Lost Lagoon Tinsel Gems Three-Pack.

FREE TUTORIALS- I send out Weekend Inspiration every weekend that includes a handful of Card Projects with tutorials and supply lists – and yes they are free! The first card on today’s post is one of the project tutorials! I send these out to all who are on my email list. Interested in getting these project sheets? Simply subscribe to my email list click here:
[/sc

Apr 28, 2023 | Gallery, More Friend Cards, More Thank You Cards |
One of my favorite new suites in our upcoming catalog is Cheerful Daisies! I think everyone loves daisies! Here’s another beautiful card with a tutorial created with the suite.


 MEASUREMENTS:
- Basic White Thick Card Base – 4 1/4 x 11 , Scored at 5 1/2
- Fresh as a Daisy Designer Series Paper – 3 x 4, cut to three 1″ strips, 3 3/4 x 4 1/2 (layer)
- Pretty Peacock – 3 x 5 1/4
- Tahitian Tide – 3 1/2 x 4 1/4
- Basic White – 3 x 3 (all stamping and die-cutting)

INSTRUCTIONS:
- Burnish the fold of the card base with a Bone Folder.
- Adhere the largest DSP layer to the Pretty Peacock layer with liquid glue, then to the card base with dimensionals.
- Adhere the strips of DSP to the Tahitian Tide layer with liquid glue, then to the card base with dimensionals.
- Use the Cheerful Daisy dies and a Stampin’ Cut & Emboss Machine to crop the daisy layers, two in Basic White and one in Fresh as a Daisy DSP (Wild Wheat).
- Adhere the Daisy pieces together with liquid glue. Adhere to the card with dimensionals.
- Stamp the sentiment in Pretty Peacock Classic Ink. Trim to size with a Paper Trimmer and Paper Snips.
- Embellish with 2023-2025 In Color Dots.
FREE TUTORIALS- I send out Weekend Inspiration every weekend that includes a handful of Card Projects with tutorials and supply lists – and yes they are free! The first card on today’s post is one of the project tutorials! I send these out to all who are on my email list. Interested in getting these project sheets? Simply subscribe to my email list click here:

Mar 15, 2023 | Gallery, More Thank You Cards |

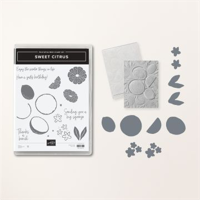
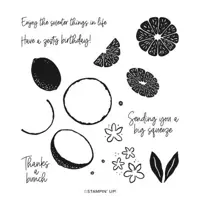
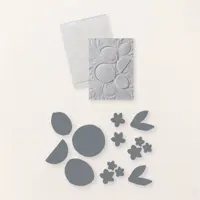
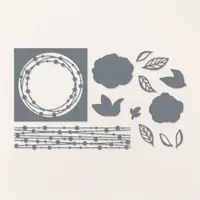
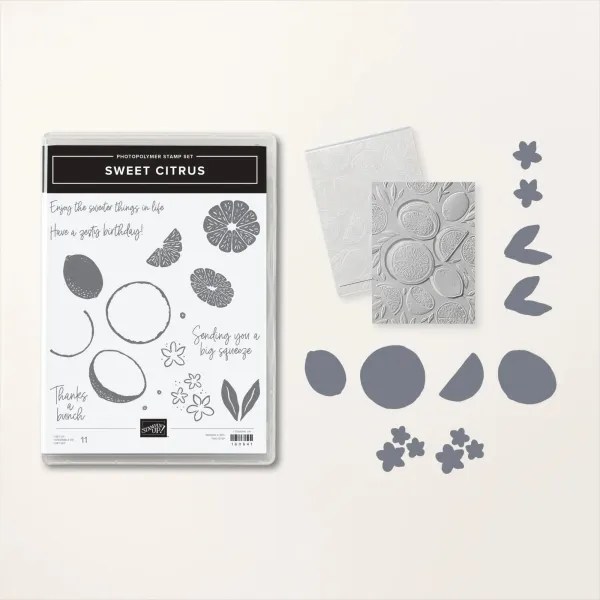
Create this beautiful thank you card using the Sweet Citrus Bundle with a Hybrid Embossing Folder by Stampin’ Up!
Measurements:
- Thick Basic White: 5 ½” x 8 ½” scored at 4 ¼”
- Basic White: 4-1/4” x 4-1/4” for stamping limes; 2-3/4” x 4-1/4” for stamping flowers and greeting
- Old Olive: 3-5/8” x 4-7/8”
- Parakeet Party: 3-1/2” x 4-3/4”
- Vellum: 2-3/4” x 4”
- White Twine: 8”
- Iridescent Rhinestones: x2
Instructions:
- Using the Stamparatus, stamp the outline image of the limes in old olive. Line up the centers of the limes and then stamp using parakeet party.
- Position the die to cut the limes into the embossing folder until it locks into place and then position the stamped images in behind, lining them up. Run it through so that it embosses and cuts at the same time.
- Run the parakeet party cardstock through with the embossing folder.
- Add the embossed cardstock to the old olive layer and that to the card front.
- Stamp the greeting using calypso coral ink onto the scrap of white and then die cut using the 1-3/4” circle from the stylish shapes dies.
- Stamp the flowers using calypso coral ink and the flower centers using soft suede. Die cut.
- Create your cluster on the piece of vellum. The half lime, greeting and larges flower are popped up using dimensionals. Everything else is flat.
- Once your cluster is attached the vellum, adhere it to the card front.
- Tie a bow with the white twine and add it to the card front using a mini glue dot.
- Add the two rhinestones.
- I had a half lime slice left that I added to the inside of the card.

Mar 6, 2023 | Gallery, More Thank You Cards |

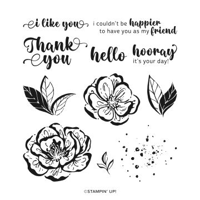
A gorgeous thank you card using the all-new online exclusive Irresistible Blooms Bundle and Hello, Irresistible Designer Series Paper!

Measurements:
- Soft Sea Foam: 5 ½” x 8 ½” scored at 4 ¼”
- Basic White: 3” x 4 ¾”
- Designer Series Paper: 4” x 1” (2 pieces)
- Designer Series Paper: 2 flower images
Instructions:
- Fold the Soft Sea Foam cardstock on score line to create card base.
- Glue the two strips of DSP to the card front – top and bottom
- Stamp the leaves in Soft Sea Foam on the left side of the Basic White.
- Stamp some of the blotches in Flirty Flaming to the right of the leaves.
- Stamp the sentiment in Night of Navy on lower right corner.
- Cut out two flower images from the DSP using the coordinating dies.
- Pop up the flowers with Stampin’ Dimensionals on top of the leaves.
- Glue the stamp piece to the middle of the card based in between the DSP strips.
- Add some Loose Frosted Dots to finish the card.