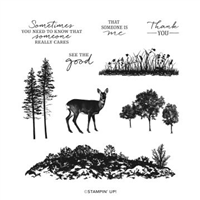
Today’s slimline card is a gorgeous sunset scene using Blending Brushes and the Grassy Grove Stamp Set. The stamp set is part of a beautiful bundle – you don’t want to miss! I love to use my blending brushes to create sunsets on this type of card! Read on for the step by step tutorial and I encourage you to give it a try!
The slimline card was inspired by this week’s Global Design Project Challenge. You can see the details here.
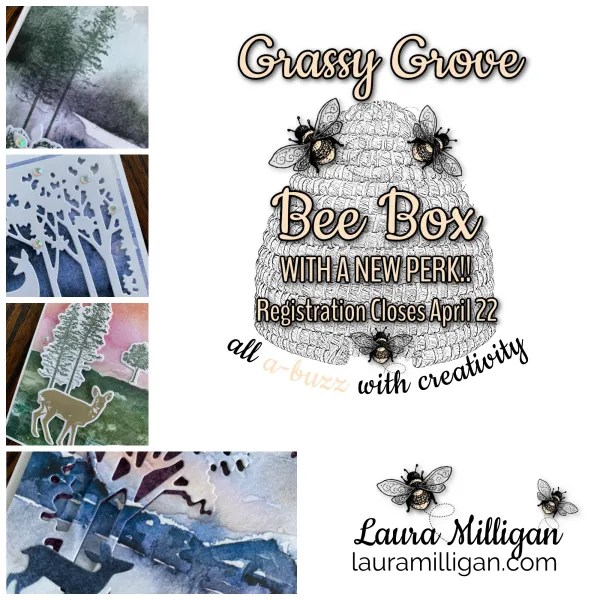
I am featuring the Grass Grove Bundle in this month’s Bee Box – you can register for this card kit in a “bee” box at this link:
I’ve added a new perk as a way to thank my loyal customers – with the purchase of four consecutive Bee Boxes, you will earn a FREE stamp set of your choice as a thank you from me! I’m excited to offer this as a thanks to my customers.
The Bee Box is $35. It includes product (valued between $20-$25), a PDF with measurements and videos for 8 card kits -2 each of 4 different designs. You will need the Grassy Grove Bundle to complete the projects in this class. You can add it on to your class for at catalog price of $56.50.
Registration is now open and closes on April 22.
MEASUREMENTS:
Basic White Thick: 8 1/2″ x 8″ (scored at 4″)
Basic White: 8 1/2″ x 3 1/2″ (stamping)
Basic Black: 7″ x 3 3/4″ (layer), 1 1/2″ x 1″ (sentiment)
INSTRUCTIONS:
Burnish and fold the slimline card base with a Bone Folder.
Create the scene by stamping the images in Versamark Ink onto the Basic White Layer. Heat Emboss with Black Stampin’ Emboss Powder.
Use a Stampin’ Cut & Emboss Machine to crop the smallest circle (Layering Circle Dies) from a Post-It Note. Lay the Post-It Note onto the card with the open circle next to the tall trees. Add Crushed Curry Classic Ink with a Blending Brush.
Cover the “sun” with the cropped circle die-cut (from the Post-It note). Apply the following colors, from bottom to top, with Blending Brushes: Mossy Meadow, Crushed Curry, Cajun Craze, Rich Razzleberry, Night of Navy.
Adhere to the Basic Black Cardstock layer and to the card base as shown.
Stamp the sentiment in Versamark onto the Basic Black Cardstock piece. Emboss with White Stampin’ Emboss Powder. Cut to size with a Paper Trimmer.
Embellish with Black Classic Matte Dots.
Want it all?? Have a big wish list? The BEST deal is always buying the Stampin' Up! Starter Kit! You get $125 in product of your choice for just $99 & Free Shipping! No obligation
I am blessed to lead an amazing team with members all across the United States. My team consists of both business builders and happy shoppers! The question I am most often asked about joining the SU family is – “do I have to sell?” The answer is NO! You are welcome to be a happy shopper – and a smart cookie, I might add, to get all the products you love at the demonstrator discount!
Please contact me with any questions! I’d love to have you join my “We’d Rather Bee Stampin'” team!
You will then enjoy 20% off all future purchases while you are active! What have you got to lose? The link to join is below! The best part – there is no obligation to sell, or hold parties ever!!! You can simply become a “happy shopper” and get discounts on all your Stampin’ Up! purchases! If you’d like to pursue this as a business and make a little extra money, I can help you with that as well!
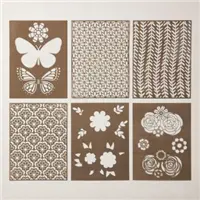
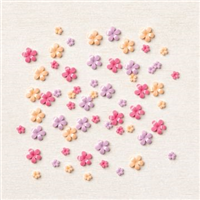
Yesterday I did a Facebook Live on my I’d Rather Bee Stampin’ page. I featured the Butterflies and Flowers Layering Masks found in the January- June Mini Catalog. They are super easy to use and so FUN!
Create textured and colored backgrounds with Butterflies & Flowers Layering Decorative Masks. These stencils are an easy way to blend colors on your cards and other paper crafting projects. You can use the background masks on their own. But your images will really pop when you layer the detailed masks over the backgrounds to get even more depth and dimension.
Here is the recording of the Facebook Live: Whether you are watching the replay or the recording via my youtube channel, please leave a comment and subscribe! Your name will be entered for a drawing of the projects I create – winners get a project mailed to them!
My first card used the butterfly mask – I used a Blending Brush and created a base solid butterfly with Fresh Freesia – and then i added the detail with the Gorgeous Grape. I finished the card with a scallop die from the Scallop Contour dies – love the scallop shape in these dies- it’s one of my favorites!
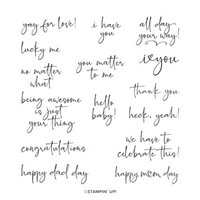
The words for these cards are from the Happy & Heartfelt stamp set. Love the font!
While I didn’t demonstrate this next card, I shared it just to show the subtle background I created with one of the masks – it just adds a bit of texture to the card front.
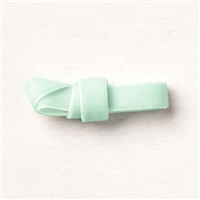
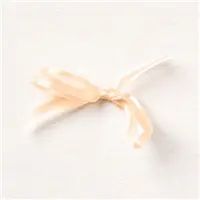
The next card I made uses the Flower Masks. Colors are Pale Papaya and Calypso Coral. I added a snippet of Pale Papaya ribbon and some of the 2021-2022 In Color Jewels.
If you haven’t used the Butterflies and Flowers Masks, I hope you will give them a try! The price is only $10 – such a great deal for 6 different patterned masks! They are a fun way to switch up your paper crafting!
Here is the recording of the Facebook Live: Whether you are watching the replay or the recording via my youtube channel, please leave a comment and subscribe! Your name will be entered for a drawing of the projects I create – winners get a project mailed to them!
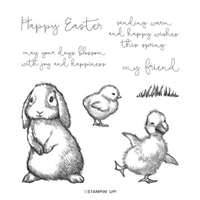
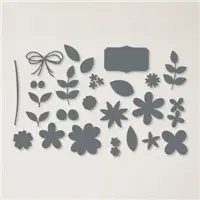
I absolutely LOVE the Easter Friends Stamp Set – it is of course perfect for Easter cards, but also makes really cute spring cards, friendship cards and sweet baby cards! My first card uses the soon to be retiring Pierced Blooms dies – don’t miss these – I’m so sad to see them go! The little flower and leaves plus the label my words are stamped on, all come from this set of dies. All shapes are pierced which adds such a nice touch!
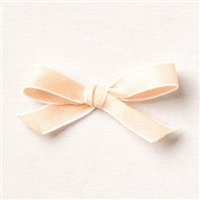
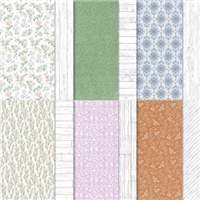
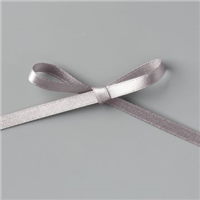
My second project was a really cute and very easy little treat pouch – perfect size for a Peanut Butter Egg! I cut the Designer Series Paper 4″ x 6″ and folded it around the egg and inserted it into a Clear Envelope – wrapped it with some ribbon (also retiring – I love this ribbon and stocked up on it!) and added the bunny as the focal point. These would be a darling favor for your Easter table or for a baby shower! The Pale Papaya Loose Flowering Flourish added a finishing touch to the bunny!
My final card is my favorite and showcases the adorable duckling! Doesn’t she just make you smile? I punched some sprigs from the Bough Punch and again added some of the Loose Flower Flourishes as an extra embellishment. The duckling was colored with the Daffodil Delight Stampin’ Blends. As you can see, the greeting I used for this card is for a friend – perfect little pick me up or just a friendly hello to a friend any time this spring!
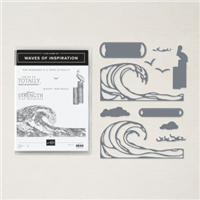
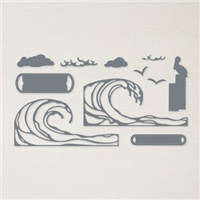
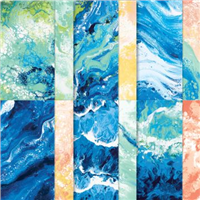
Yesterday I did a Facebook Live on my I’d Rather Bee Stampin’ page. I created a card duo using the gorgeous Waves of the Ocean products! The bundle is an early release from our upcoming Annual Catalog – but it’s important to note that the beautiful Designer Series Paper, (the Foils Specialty Paper and the Rhinestone Waves Basic Jewels have SOLD OUT) is only available while supplies last and will not be appearing in the upcoming Annual Catalog. Don’t miss out on these products – they are amazing and compliment the bundle so very well!
Here is the recording of today’s Facebook Live: Whether you are watching the replay or the recording via my youtube channel, please leave a comment and subscribe! Your name will be entered for a drawing of the cards I create – winners get a card mailed to them!
This card started out as a tag – when I send out my Classes to Go, I always include a free bonus project as a thank you to those who have purchased the class – for my Waves of the Ocean Class, it was this tag! I thought it would be fun to create a card with the tag as a way to step it up! This class has closed now, but the PDF is available for purchase in my tutorials here:
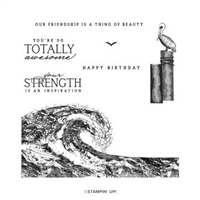
I used Pacific Point ink and stamped the large wave twice for a bigger wave with a two tone look. I love the added detail created with the foil die cut wave.
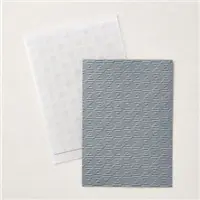
This next card features the Splatter embossing folder from the Stripes and Splatter Embossing folder set, and a small bit of Designer Series Paper. I love that the label (from the Waves of Inspiration bundle) not only includes stitching, but also the holes on either end of the shape – perfect for adding a bit of linen thread!
Here’s a closer look at the card:
If you love the beach like I do, I know you will enjoy creating with this beautiful set of products!
Our final day was a free day – we had our choice of activities – we chose some Spa Time – why not be even more pampered, right?
We started the day with another delicious breakfast buffet and snapped a quick photo with Sara Douglass, CEO of Stampin’ Up!
We were headed to Park City for the day – for lunch, spa time, shopping and dinner. And of course in true Stampin’ Up! style – they sent us on our way with an adorable bag of treats –
We went to the Waldorf Astoria in Park City for lunch and a little pampering at the Spa –
It was WONDERFUL!!! We then headed to the main street in Park City for some shopping. We ended the day meeting up with all the Achievers and their guests at a wonderful restaurant – Riverhorse on Main and had a delicious dinner!
We headed back to our hotel and prepared to depart. What a wonderful trip. One I will cherish always.
I hope you have enjoyed following me on this trip! Of course I need to give a HUGE shout out and thanks to my customers who made this trip possible! I am so very, very grateful for all of you that support my business! YOU are all the heart of my business – and my cup truly overflows!
Disclaimer: The claims published here are not representative of the typical Stampin’ Up! demonstrator. The level of sales required to achieve this result is accomplished by less than .001 percent of Stampin’ Up! demonstrators.
Last week I traveled to Salt Lake City, Utah for the Million Sales Retreat. This was a long time in coming as I actually hit One Million Dollars in Career Sales in Nov. of 2020! Due to Covid, this trip was delayed! Well, let me just say it was well worth the wait!
I got to take my dear friends, Sandra and Rene’ along as my guests! They are not only wonderful friends, but also help me with all parts of my business! I couldn’t do what I do without them! It was actually my husband’s suggestion to take them – instead of him! What a sweetheart he is, right?
In this photo, we are on the plane – first class (wow) – and we are so excited! Salt Lake CIty HERE WE COME!
We arrived safe and sound and headed with all of the Achievers and their guests to a yummy dinner at a place called From Scratch. Everything was delicious – and made “from scratch” – and the yummy foods continued throughout the entire time we were there!
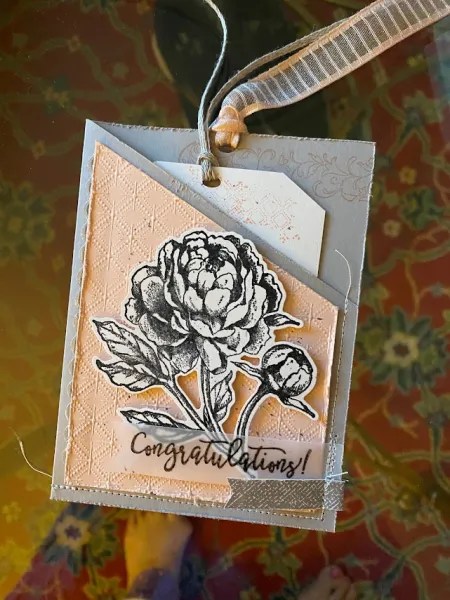
We stayed at the Grand America hotel – which was gorgeous! When we checked into our room, there was a box of treats for us – and a beautiful hand stamped card to welcome us. The card used the same products – Peony Garden Suite- that were used to create the over the top card I received in the mail from Sara and Shelli when I hit my Million Career Sales!
Look at ALL the detail – oh I love this so much!
We gathered first thing Thursday morning for a delicious Breakfast Buffet and then headed to headquarters in Riverton. Such a treat to visit with all of the Achievers and their guests – and of course Shelli and Sara make it extra special! There are 17 Achievers at the retreat.
We were taken up to Riverton by bus and when we arrived, there was a group of Stampin’ Up! employees ready to great us! They called each Acheiver out one at a time – I was the second one called – and I can’t even describe how emotional this was! I was greeted by my Demonstrator Development Manager- Kate Spackman. She and I had a phone call several months ago and we just clicked! I love her and was thrilled to meet her in person and have her been the one to welcome me!
She presented me with a beautiful bouquet of flowers and two Million Dollar stamps – of course all presented beautifully! Each Achiever had their own bouquet – based on a survey we took where we shared what our favorite flowers were.
To say the least, it was very emotional! To do something that I love so much, and to receive this over the top recognition was just overwhelming – in a good way!
To share this moment with Sandra and Rene’ was amazing as well! And sweet Luce – adorable woman I got to work with when I served on the Events Council – so wonderful to see her!
We were given some official name tags – so fun!!!
We spent the rest of the day meeting with Stampin’ Up! employees from different departments – we got to go to the “pick line” where orders are picked for shipment, meet with the Catalog team, toured the newly updated Legacy Room and of course the best part was just visiting with the other Acheivers, and all the wonderful Stampin’ Up! staff- all are wonderful and so welcoming!
Since I have been a demonstrator for so long, and have had the opportunity to work with some of the staff – either on a council or when I presented, it was so wonderful to see some of them again! Since we haven’t been holding in person events for several years, it was so good to give some hugs to them!
I got to meet Kathy Pitt in person – she is the super talented artist that I worked with in creating my own stamp set that will be in an upcoming catalog!
No detail was spared – even the water bottles were fancy!
My heart is so full! Truly my cup overflows! But there’s more! We headed back to the hotel to find another gift -beautifully packaged as is the Stampin’ Up! way!
Truly a day to cherish! Come back tomorrow – I have a lot more to share!
Disclaimer: The claims published here are not representative of the typical Stampin’ Up! demonstrator. The level of sales required to achieve this result is accomplished by less than .001 percent of Stampin’ Up! demonstrators.
The content in this blog is the sole responsibility of Laura Milligan as a Stampin’ Up!® Independent Demonstrator. The use of and content of classes, services or products offered is not endorsed by Stampin’ Up!