Sep 28, 2022 | Gallery, More Bee Creative Tutorials, More Gift Wrap Ideas |
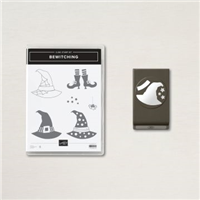
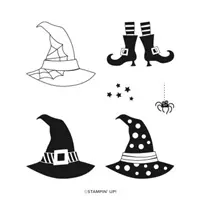
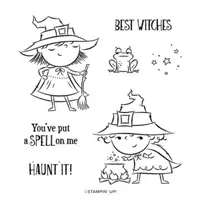
Need a quick Halloween Treat Bag? Gather the Bewitching Bundle, the Best Witches Stamp Set, and the Stars Treat Bag! The bag assembly is done for you, all you need to do is decorate!
MEASUREMENTS:
- Crushed Curry: 3 1/4″ x 5″ (bag insert), 3″ x 3″ (die-cutting)
- Basic Black: 2″ x 3/4″ (sentiment)
- Basic White: 2 1/2″ x 2 1/4″ (punched image)

INSTRUCTIONS:
- Stamp the with feet in Tuxedo Black Memento Ink directly onto the bag as shown.
- Add adhesive to the corners of the Crushed Curry and insert into the inside of the bag (behind the stars).
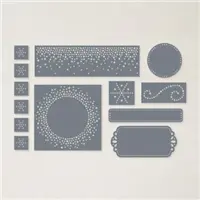
- Crop the Crushed Curry cardstock with a Stampin’ Cut & Emboss Machine and the Stylish Shapes 2 1/2″ stitched circle die.
- Adhere to the bag with dimensionals.
- Stamp the sentiment in Versamark Ink onto Basic Black Cardstock. Emboss with White Embossing Powder.
- Crop with a Stampin’ Cut & Emboss Machine and the Labels Aglow Die. Snip the ends with Paper Snips. Adhere with Multipurpose Liquid Glue.
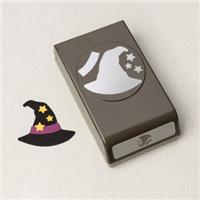
- Stamp the hat in Tuxedo Black Memento Ink onto the Basic White. Crop with the Witch Hat Builder Punch. Color with Basic Black and Daffodil Delight Stampin’ Blends Combo Packs. Adhere with Multipurpose Liquid Glue.
- Use the Witch Hat Builder Punch to crop one star from Crushed Curry cardstock. Adhere to the corner of the witch had with a Mini Glue Dot.
- Embellish with Matte Black Dots.

Want it all?? Have a big wish list? The BEST deal is always buying the Stampin' Up! Starter Kit! You get $125 in product of your choice for just $99 & Free Shipping! No obligation
I am blessed to lead an amazing team with members all across the United States. My team consists of both business builders and happy shoppers! The question I am most often asked about joining the SU family is – “do I have to sell?” The answer is NO! You are welcome to be a happy shopper – and a smart cookie, I might add, to get all the products you love at the demonstrator discount!
Please contact me with any questions! I’d love to have you join my “We’d Rather Bee Stampin'” team!
You will then enjoy 20% off all future purchases while you are active! What have you got to lose? The link to join is below! The best part – there is no obligation to sell, or hold parties ever!!! You can simply become a “happy shopper” and get discounts on all your Stampin’ Up! purchases! If you’d like to pursue this as a business and make a little extra money, I can help you with that as well! 

Dec 15, 2021 | Gallery, More Christmas Cards, More Gift Wrap Ideas, More Video Tutorials |

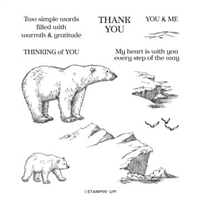
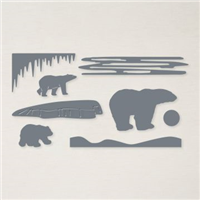
Monday I did a Facebook Live on my I’d Rather Bee Stampin’ page. I created a quick and simple card with the Arctic Bears Bundle. These dies are currently 50% off! – making them only $15!!! An amazing deal not to be missed! I love these bears for great masculine cards, winter cards, etc! They are a cute and fun card perfect for the winter months!

You can see how I created the card by watching my Facebook Live video below.

Quick and so cute! I love these bears! And of course you can stamp them in brown and they would be a brown bear!

MEASUREMENTS:
- Pool Party – 5 1/2 x 8 1/2, scored at 4 1/4;
- Basic White: 4 x 5 1/4 (cut 2 – one for card front, one for inside panel); scrap for bears
- Pattern Party Designer Series Paper – 4 x 3
Want it all?? Have a big wish list? The BEST deal is always buying the Stampin' Up! Starter Kit! You get $125 in product of your choice for just $99 & Free Shipping! No obligation
I am blessed to lead an amazing team with members all across the United States. My team consists of both business builders and happy shoppers! The question I am most often asked about joining the SU family is – “do I have to sell?” The answer is NO! You are welcome to be a happy shopper – and a smart cookie, I might add, to get all the products you love at the demonstrator discount!
Please contact me with any questions! I’d love to have you join my “We’d Rather Bee Stampin'” team!
You will then enjoy 20% off all future purchases while you are active! What have you got to lose? The link to join is below! The best part – there is no obligation to sell, or hold parties ever!!! You can simply become a “happy shopper” and get discounts on all your Stampin’ Up! purchases! If you’d like to pursue this as a business and make a little extra money, I can help you with that as well!


Sale: $15.00
Price: $30.00

Dec 13, 2021 | Gallery, More Christmas Cards, More Gift Wrap Ideas, More Video Tutorials |
Lucy was here on Friday and she has been wanting to do a Facebook Live – so we did one on my I’d Rather Bee Stampin’ page.
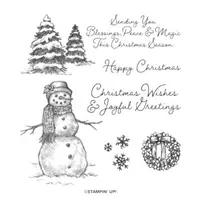
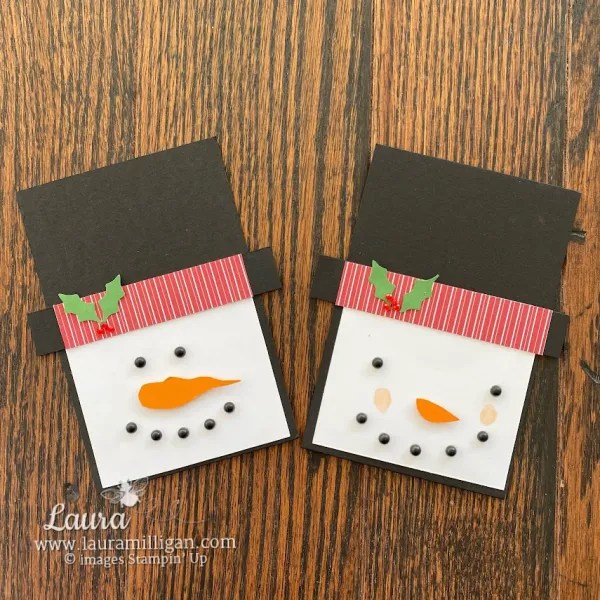
We created a cute Snowman (or for Lucy it was a Snow- woman!) gift card holder. It’s that time of year – I give a lot of Gift Cards and love this idea – inspired by a card I received from Connie Babbert.
With just a few supplies, most of which you probably have on hand, this gift card is quick and easy to make! The Gift Card slips behind the brim of the hat – and I love that it will fit in a regular envelope for mailing – if you need to put yours in the mail.

You can see how we created the gift card holder by watching my Facebook Live video below.

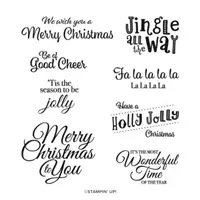
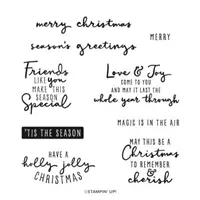
Here’s a view of the back of the gift card holder: Our words are from the Holly Jolly Wishes stamp set – it is such a great set for Christmas sayings.

MEASUREMENTS:
- Basic Black: 3 1/2 x 8 1/2, scored at 3 1/4; 3/4 x 4 1/4 (brim)
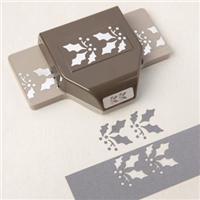
- Garden Green: small piece for punching holly leaves
- DSP: 3/4 x 3 1/2
- Basic White: 3 1/4 x 2 3/4 (face); 3 1/4 x 5 (back)
Want it all?? Have a big wish list? The BEST deal is always buying the Stampin' Up! Starter Kit! You get $125 in product of your choice for just $99 & Free Shipping! No obligation
I am blessed to lead an amazing team with members all across the United States. My team consists of both business builders and happy shoppers! The question I am most often asked about joining the SU family is – “do I have to sell?” The answer is NO! You are welcome to be a happy shopper – and a smart cookie, I might add, to get all the products you love at the demonstrator discount!
Please contact me with any questions! I’d love to have you join my “We’d Rather Bee Stampin'” team!
You will then enjoy 20% off all future purchases while you are active! What have you got to lose? The link to join is below! The best part – there is no obligation to sell, or hold parties ever!!! You can simply become a “happy shopper” and get discounts on all your Stampin’ Up! purchases! If you’d like to pursue this as a business and make a little extra money, I can help you with that as well!
Sale: $18.40
Price: $23.00

Dec 8, 2021 | Gallery, More Christmas Cards, More Gift Wrap Ideas, More Video Tutorials |

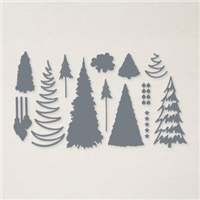
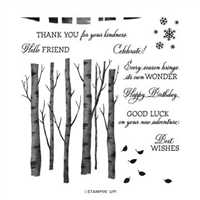
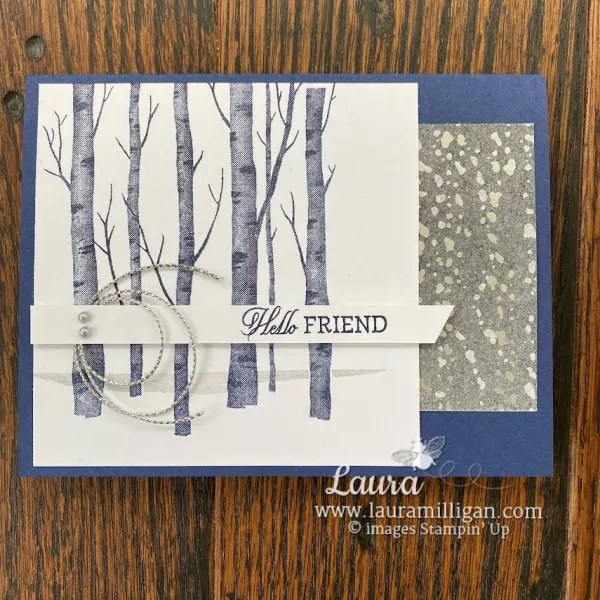
Monday I did a Facebook Live on my I’d Rather Bee Stampin’ page. This framed art, coordinating card and was created using the Christmas Tree Dies from the 2021 Holiday Catalog.
You can see how I created the framed art and two cards by watching my Facebook Live video below.

MEASUREMENTS:
- Night of Navy – 8 ½ x 5 ½
- Basic White: 4“ square; 4 x 5 ¼ inside panel, 3/8 x 4 ¼ words
- Peaceful Place DSP: 3 x 1 /2

Want it all?? Have a big wish list? The BEST deal is always buying the Stampin' Up! Starter Kit! You get $125 in product of your choice for just $99 & Free Shipping! No obligation
I am blessed to lead an amazing team with members all across the United States. My team consists of both business builders and happy shoppers! The question I am most often asked about joining the SU family is – “do I have to sell?” The answer is NO! You are welcome to be a happy shopper – and a smart cookie, I might add, to get all the products you love at the demonstrator discount!
Please contact me with any questions! I’d love to have you join my “We’d Rather Bee Stampin'” team!
You will then enjoy 20% off all future purchases while you are active! What have you got to lose? The link to join is below! The best part – there is no obligation to sell, or hold parties ever!!! You can simply become a “happy shopper” and get discounts on all your Stampin’ Up! purchases! If you’d like to pursue this as a business and make a little extra money, I can help you with that as well!

Dec 3, 2021 | Gallery, More Christmas Cards, More Gift Wrap Ideas, More Video Tutorials |

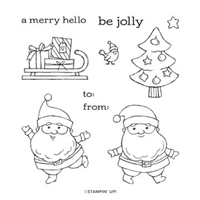
Yesterday I did a Facebook Live on my I’d Rather Bee Stampin’ page. This gift card holder was inspired by the talented Carol Payne. Thank you, Carol for the inspiration!
You can see how I created this gift card holder by watching my Facebook Live video below.

MEASUREMENTS:
- Shaded spruce – 4 ¼ x 5 ½; 2 ¾ x 8 ½ – scored at 2 ½ and 6 ¾ ; small piece for punching 2 holly leaves
- Basic White: 3 ¾ x 5; 2 x 2 ¼; 2 ½ x 4, piece for stamping Santa
- Real Red: 5 ¼” x 4”, 2 ¼” x 2 ½” 1 x 1 ½
- Smoky Slate: ¾ x 5, 1 5/8 x ¼

Want it all?? Have a big wish list? The BEST deal is always buying the Stampin' Up! Starter Kit! You get $125 in product of your choice for just $99 & Free Shipping! No obligation
I am blessed to lead an amazing team with members all across the United States. My team consists of both business builders and happy shoppers! The question I am most often asked about joining the SU family is – “do I have to sell?” The answer is NO! You are welcome to be a happy shopper – and a smart cookie, I might add, to get all the products you love at the demonstrator discount!
Please contact me with any questions! I’d love to have you join my “We’d Rather Bee Stampin'” team!
You will then enjoy 20% off all future purchases while you are active! What have you got to lose? The link to join is below! The best part – there is no obligation to sell, or hold parties ever!!! You can simply become a “happy shopper” and get discounts on all your Stampin’ Up! purchases! If you’d like to pursue this as a business and make a little extra money, I can help you with that as well!

Nov 30, 2021 | Gallery, More Gift Wrap Ideas, More Video Tutorials |

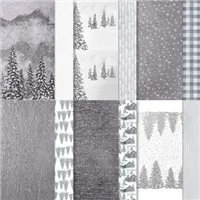
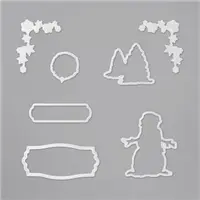
On yesterday’s Facebook Live, I shared a sweet little gift box – this could be a great gift card holder, or would hold any small gift. I love to “dress up” a gift card but presenting it in a special way – it makes it look more personal and thoughtful! I created this box with the Snow Wonder Stamp Set and Coordinating Snow Time Dies.


To see how easy it is to put this box together, please watch the replay of the Facebook Live:

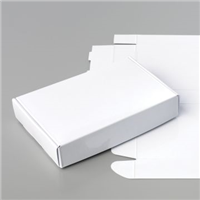
My box is a Mini Paper Pumpkin Box – these boxes are perfect for little boxes like this one! It’s a “no adhesive needed” box – so easy – just fold on the scored lines and assemble. I then wrapped a piece of the beautiful White 3/8″ Glittered Organdy Ribbon around the box and tied with a bow.
For the box front, I started with a panel of Basic Gray Cardstock (3 5/8″ x 5 3/8″).
I stamped the trees with Old Olive ink onto a panel of the beautiful Peaceful Place Specialty Designer Series Paper. I love the look of stamping directly onto our Designer Series Paper and need to do it more often!
The Snow Lady was stamped with Basic Gray Ink and then cropped with the Stampin’ Cut and Emboss Machine. Be sure to watch the Facebook Live Replay for a tip on how to do multiples of a stamped and cropped image quickly! I did the same with the word label shape.
To finish up my box, I added just a bit of color to the Snow Lady with Stampin’ Blends and then adhered the word panel with Multipurpose Liquid Glue. The Snow Lady is attached with dimensionals.
For a bit of bling I added three Real Red Rhinestones.

Do you give a lot of gift cards over the holidays? If so, I hope this gives you an easy and quick and special way to present them!
Want it all?? Have a big wish list? The BEST deal is always buying the Stampin' Up! Starter Kit! You get $125 in product of your choice for just $99 & Free Shipping! No obligation
I am blessed to lead an amazing team with members all across the United States. My team consists of both business builders and happy shoppers! The question I am most often asked about joining the SU family is – “do I have to sell?” The answer is NO! You are welcome to be a happy shopper – and a smart cookie, I might add, to get all the products you love at the demonstrator discount!
Please contact me with any questions! I’d love to have you join my “We’d Rather Bee Stampin'” team!
You will then enjoy 20% off all future purchases while you are active! What have you got to lose? The link to join is below! The best part – there is no obligation to sell, or hold parties ever!!! You can simply become a “happy shopper” and get discounts on all your Stampin’ Up! purchases! If you’d like to pursue this as a business and make a little extra money, I can help you with that as well!